We can’t believe that there are only a few months to go until our wedding! We're sure you've heard it a million times, but time really does fly when you're engaged. There's still so much do to and so many plans to finalize.

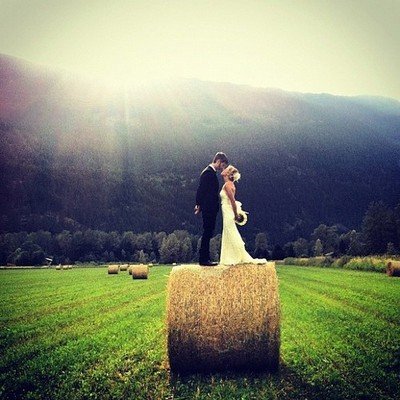
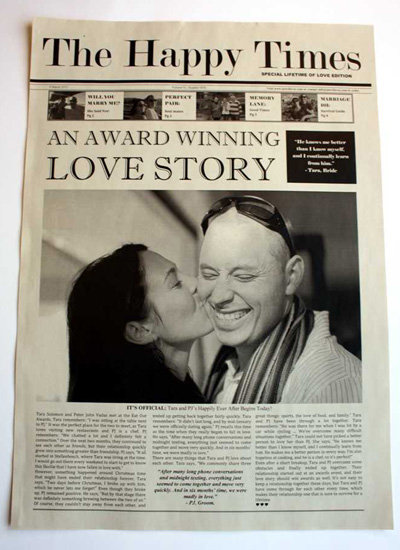
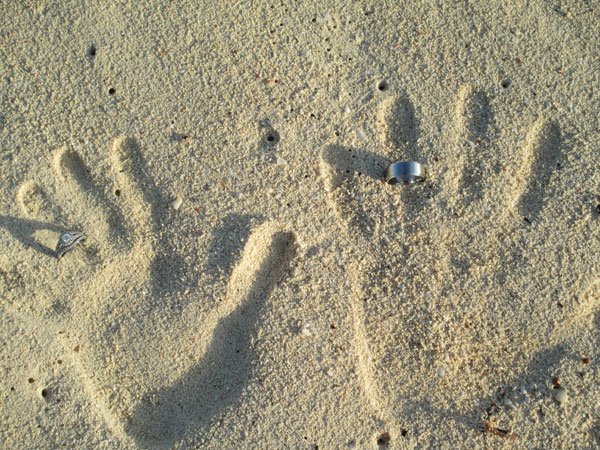
When we had our consultation with David Tutera, one of the areas that we really wanted his help was with our save-the-date announcement. We knew what type of “feeling” we were trying to capture — unique, happy, and playful — but had no definite way of going about it. Ideally, we wanted to incorporate the outdoors and make it seem as if the moment was being captured live.
After he asked a few more questions, David processed the information and came up with a wonderful idea that would incorporate all of our requests. We were beyond excited with the idea.
The next thing to do was to meet with our photographer, Stephen of Stephen Martin Photography.
During the late fall, we met with Stephen, and he was more than willing to help. He had never done a save-the-date of this kind, but he knew the perfect location. With our plan starting to take shape, we wrote a list of supplies and were off to the store.
Six feet of canvas paper, check. A few bottles of washable paints, check. A couple of white long sleeve shirts, already had those. We were surprised that for under 20 dollars, we could make this happen.


 Some couples express themselves by