Get crafty with these creative, wedding-worthy Mason jar design ideas.
By: Lauren Elise DonaldsonVintage Fork Signage
Difficulty Rating: Easy
Materials
Inkjet printer
Cardstock
Scanner
Signage Templates (see below)
X-Acto knife
Metal ruler
Scissors
Cutting mat
Stovetop
Stockpot
Vintage forks
Tongs
Quart-size and pint-size Mason jars
Super glue
Font Used: Nelly Script Flourish & Darling Monograms by Tart Workshop
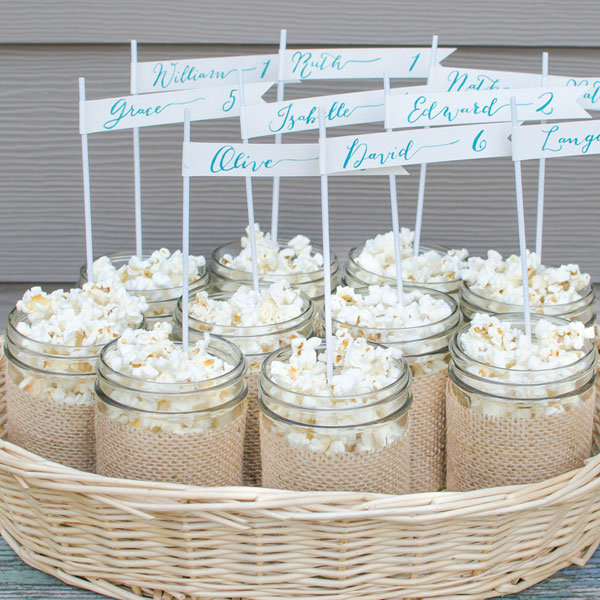
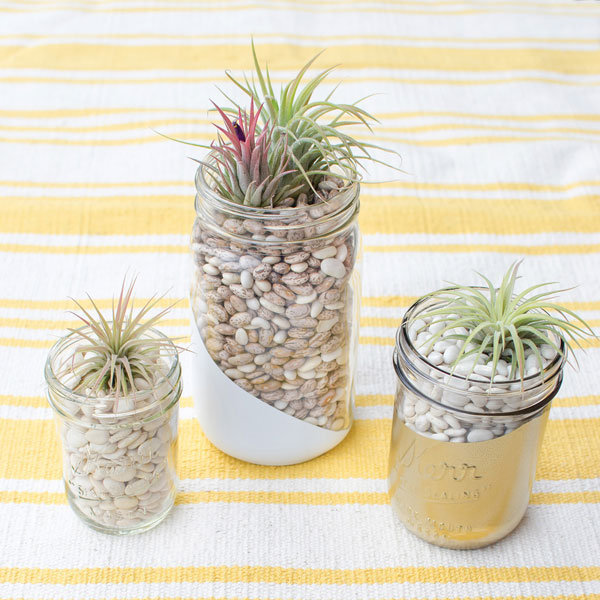
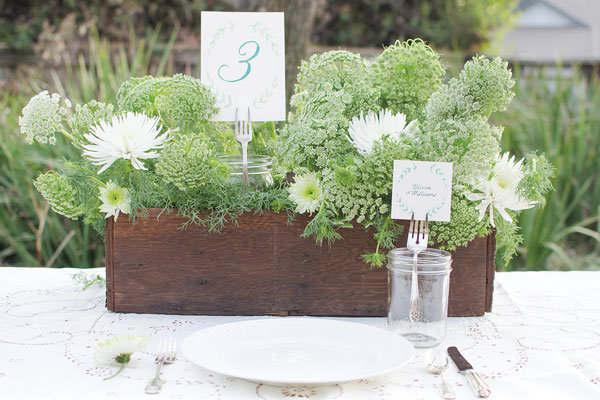
Old forks can have new life again when paired with Mason jars, and they will shine as the perfect detail for rustic, vintage-inspired weddings and parties. Prominently display all types of signage to help educate and direct your guests at your venue. The fork prongs can hold name tags, table numbers, seating arrangements, food and dessert labels, photo booth directions, maps, and countless other signs and tags. Use them in your home as well to exhibit family photographs or to prop up recipes while you cook.
1. Choose a decorative font and load it onto your computer. Graphically lay out table numbers, labels, guests’ names, and/or signage in the chosen font using some kind of graphic software (like Adobe Photoshop or Illustrator, Microsoft Word, etc.). Start from scratch or use the template below for your designs.
2. Print out your designs on the cardstock, arranging as many per page as possible. Cut down each of the designs individually. An X-Acto knife and metal ruler will ensure even, clean cuts, but scissors work also. If you choose to cut with an X-Acto knife, do your work on a cutting mat.
3. Boil water on your stove in a stockpot. Make sure there is enough water so that the silverware will be fully submerged. Once the water is boiling, drop the forks into the stockpot. Let them sit for about five minutes.
4. Remove the forks one at a time with the tongs.
5. Take a fork and bend it by hand in the center. Use the edge of your kitchen counter or something equivalent to help if necessary. The metal should be malleable from the hot water. Bend the fork into the shape you want.

6. Try positioning the fork on the Mason jar. Multiple points of contact with the metal and glass will ensure stability so keep this in mind. Readjust the shape of the fork to achieve the best possible result when gluing.
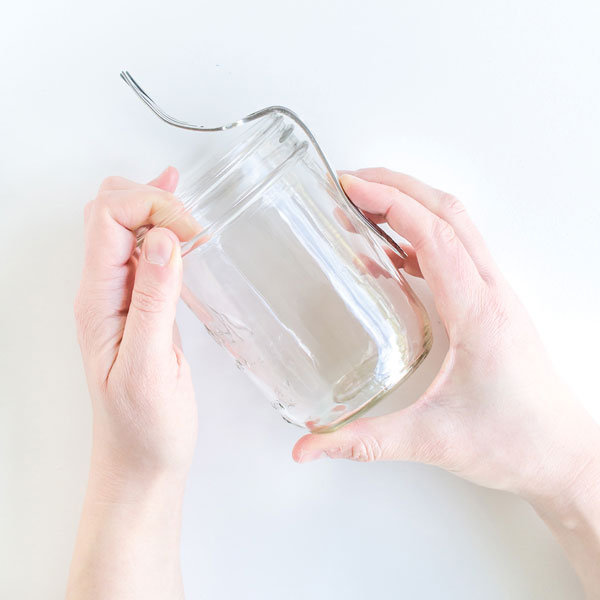
7. At the contact points, put a dab of super glue onto the fork. Place the fork onto the jar, applying pressure.
8. Allow plenty of time for the fork and jar to bond together. The glue may take a full 24 hours to achieve the best result. Check the instructions that came with your brand of glue. Position or prop up the jar so the spoon can properly adhere.
9. Repeat this process with multiple jars.
10. Slip the name tags, table numbers, treat labels, and your other designs between the fork prongs to prop up signage and give it prominence at your wedding, party, or event.
Extra Tips
For a more personal twist, try doing calligraphy by hand or asking a talented friend to help. Painting words and numbers with watercolors would be another artistic option.
Display these jars during the holidays. Prop up cards and photographs you receive in the mail from family and friends.
Adapted from Mason Jar Crafts—DIY Projects for Adorable Gifts, Rustic Decor, Clever Storage, Inventive Lighting and Much More, by Lauren Elise Donaldson (Ulysses Press 2013).