
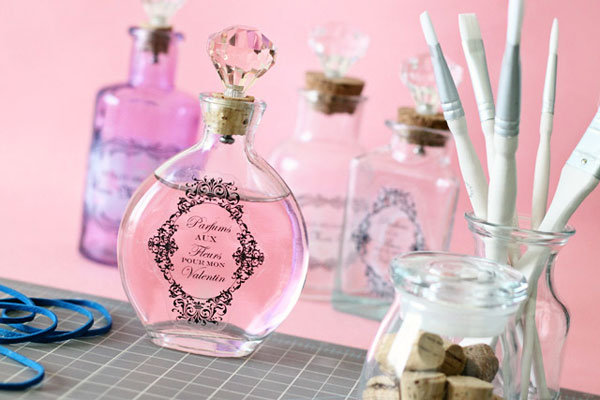
Our party calendar for May is packed with bridal showers—stay tuned for an upcoming feature on real-life parties with loads of stealable inspiration! In the meantime, we found this gem to hold you over from our blogger friend Taryn, who runs formalfringe.com. All of the stunning showers we've seen recently have two things in common: handmade details and customization. This do-it-yourself apothecary jar would make a thoughtful guest favor or bridesmaid gift. Display them in neat rows near the entrance to make a sweet first impression.
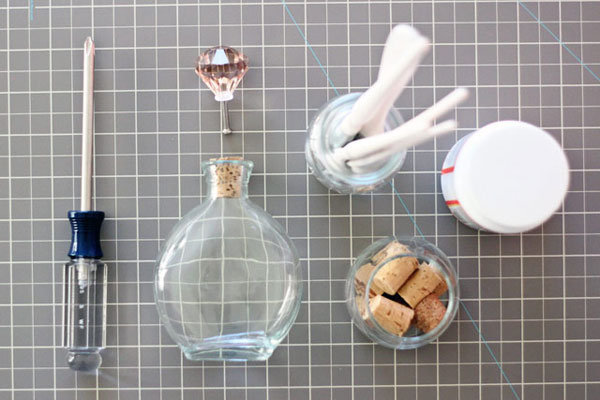
Materials:
- Decorative bottle with a cork
- Decorative drawer pull knob with a screw
- Glue or decoupage solution
- One sheet of printable acetate
- Screwdriver
- Paint brushes
- Printer
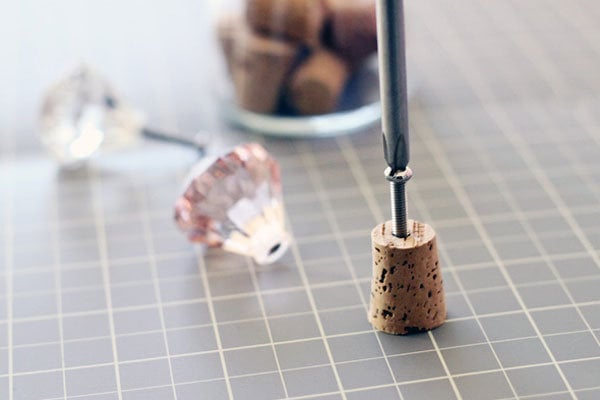
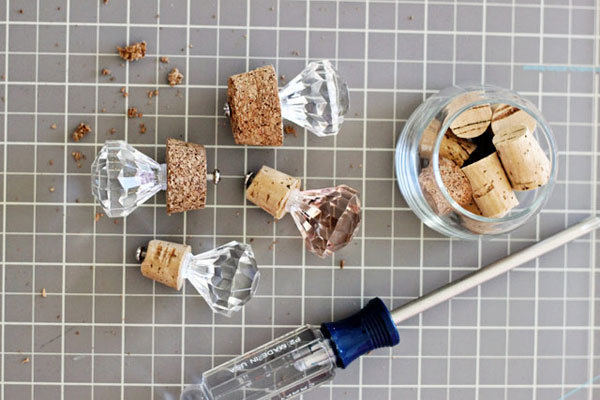
Step 1: Prep the Drawer Knob
- First, unscrew the screw base from your drawer knob.
- Using your screwdriver, drive the screw through the bottom of your bottle’s cork. If you find it’s tough to do, try using a power drill to pre-drill a hole in the cork. Drive the screw through until it pierces out of the top of the cork.
- Then, re-attach the knob part of your drawer pull. If your screw is longer than your cork, let it extend out from the bottom. If it’s too short, use a saw or craft knife to cut your cork down a bit.
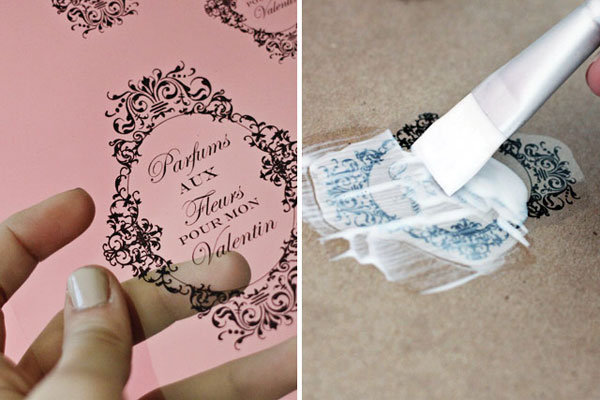
Step 2: Select Your Bottle Label Design
- You can try designing your own or searching online for vintage label designs.
- Or, use this free design template that Taryn has already created for you!
Step 3: Apply the Label
- Print out the label onto the clear acetate sheets.
- Cut out your label, trying to stay as close to the design as possible. Make your cut-out uniform and neat.
- Next, apply a very thin layer of glue to the back of the label and lay it in place on the front of your bottle.
- Fasten the label into place with rubber bands, if you need them.
Step 4: Wait for the Label to Dry
Leave the bottle (or bottles, if that’s the case) in a cool, dry place overnight. Since acetate isn’t very breathable, this label will need to sit for at least a day to dry. It’ll be ready when the glue dries to become completely clear.
Step 5: Fill Your Bottle with Liquid
Taryn filled hers up with water and a tiny drop of pink food coloring. We think it would also be fun to fill it with a purchased or homemade fragrance. You could choose specific scents based on each bridesmaid's personality and preferences.
Visit formalfringe.com for more fun how-to projects!
—Stefania Sainato
- ssainato's blog
- Log in or register to post comments


