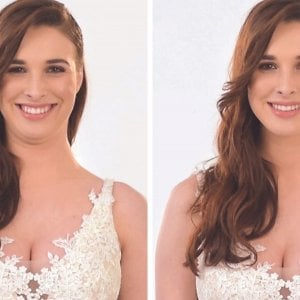
Easy, elegant do-it-yourself looks that will last you through wedding season...and beyond.
By: Stefania Sainato2. Pretty Retro Bouffant
This loose, romantic updo is a cinch to create — simply roll, tease and twist!

Created by Hair and Makeup by Steph on Latest-Hairstyles.com
Get the Look:
1. Begin by clipping the top half of your hair.
2. Once the top half is clipped up, put the bottom half in a low ponytail at the nape of your neck.
3. and 4. Create a small hole at the base of your ponytail and push the ponytail down through it, creating an inside-out ponytail.
5. Back-comb the ponytail.
6. Once the ponytail has been teased out, use your fingers to roll the ends of the hair upwards, creating a chignon.
7. Secure the chignon with bobby pins.
8. Let down the top half of your hair and create a deep side part.
9. Back-comb the top half of your hair for added volume.
10. Pull all of the hair from the top half loosely back and twist it one time, pushing it upwards and towards your scalp to create more volume. Secure it with bobby pins so it rests right on top of the chignon.
11. Continue to loosely twist the hair through to the ends, wrapping the ends around the side of the chignon and securing them with bobby pins underneath.
12. Gently loosen some small hairs around your face to soften the front.
Next: A low braided headband bun ►


Comments
amelia22brown replied on Permalink
Blog