Unexpected beauty crisis on your wedding day? Don't panic! Here's what to do in case you get a giant pimple, you hate your hair and makeup, or some other catastrophe. Plus, beauty experts share how to prevent these issues from happening at all.

Photo Credit: Will Pursell Photography
Nightmare scenario #5: Your self-tanner application looks less glow-y and more Oompa Loompa circa the 1990s.
Crisis control: Shower and exfoliate to remove some of the color — you may have to repeat the process several times. Trotter suggests using a subtle-toned tanning body lotion to blend any streaks.
Prevention pointer: “Don’t DIY self-tanner prior to the wedding day unless you’ve done it many times before and truly know how your skin will react and how to problem solve. Getting self-tanner all over your white dress isn’t worth a bit of glow!” Trotter urges.
Nightmare scenario #6: Your skin is incredibly irritated after hair removal.
Crisis control: “Hair removal doesn’t need to result in ingrown hair and breakouts. Breakouts can occur when you use wax or depilatory with artificial ingredients, or you shave with a dull blade,” says Noemi Grupenmager, the founder and CEO of Uni K Wax Centers. If you have an ingrown hair, she suggests using Uni K Ingrown Hair Roll-On, which helps release the hair caught in the follicle. Also, avoid aggravating the area by wearing loose-fitting clothing. Believe it or not, Nussbaum-Brown tells us that Desitin Diaper Rash Cream can also provide relief to an inflamed bikini area (assuming you don't have any allergies to the cream). If the pain doesn't subside, your dermatologist can call in a hydrocortisone cream.
Prevention pointers: Wax with an all-natural elastic wax formulated for sensitive skin. “At Uni K, technicians apply a cold pack on the waxed area, which closes the pores to prevent any bacteria from entering. Then they apply a soothing all-natural gel to reduce any redness,” Grupenmager says. If you’ve never waxed the area before, she recommends scheduling an appointment one month prior to the big day to allow the hair to get into the rhythm of waxing. If you’ve waxed before, then scheduling your session four to five days prior to the wedding is ideal.
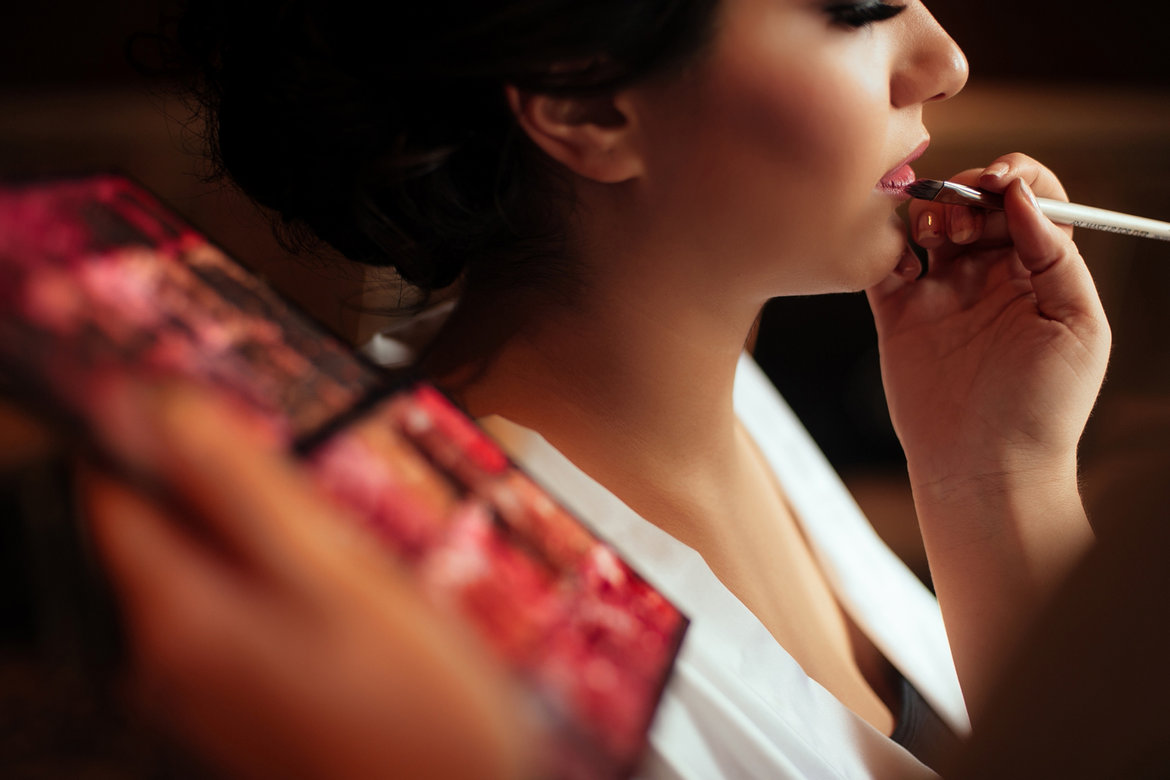
Nightmare scenario #7: You hate the way your makeup looks on the big day.
Crisis control: “The most important thing is to keep calm. Any pro artist should be happy to tweak your look to make it perfect…Freaking out will just rattle everyone and waste precious time,” Trotter advises. Don’t just say, “I don’t like it” — determine what the issue is and communicate that so that your makeup artist can solve the problem. For example: “My eyebrows look too dark, can you lighten them?” “I don’t care for this lip color…can we go with a more nude shade?” or “I feel that I look pale, can we try more blush and bronzer?”
Prevention pointers: Even if you trust your makeup artist 100%, it’s crucial to schedule a preview to ensure that you love your makeup for the big day. You might think that you want a smoky eye or a brighter lip, but once you see it with your dress and veil, it might not work. During the makeup trial, be sure to speak up and be very clear with your artist about what you do (and don’t) like.
Nightmare scenario #8: Your mom, bridesmaid or another close loved one gets their makeup done elsewhere (or does it themselves) and isn't happy with the result.
Crisis control: “I’ve had this happen multiple times. Often, there’s no time for a total redo,” Trotter says. Her foolproof method: Take a dampened beauty blender to blend out harsh contour/blush lines or blend in unblended foundation. Remove too much brow product with a Q-tip, clean up line with a bit of concealer and brush brows into place. Blend unblended shadow, add gel liner if more is needed, and change the lip color to a more flattering shade.


