Easy, elegant do-it-yourself looks that will last you through wedding season...and beyond.
By: Stefania Sainato9. Embellished Faux Bob
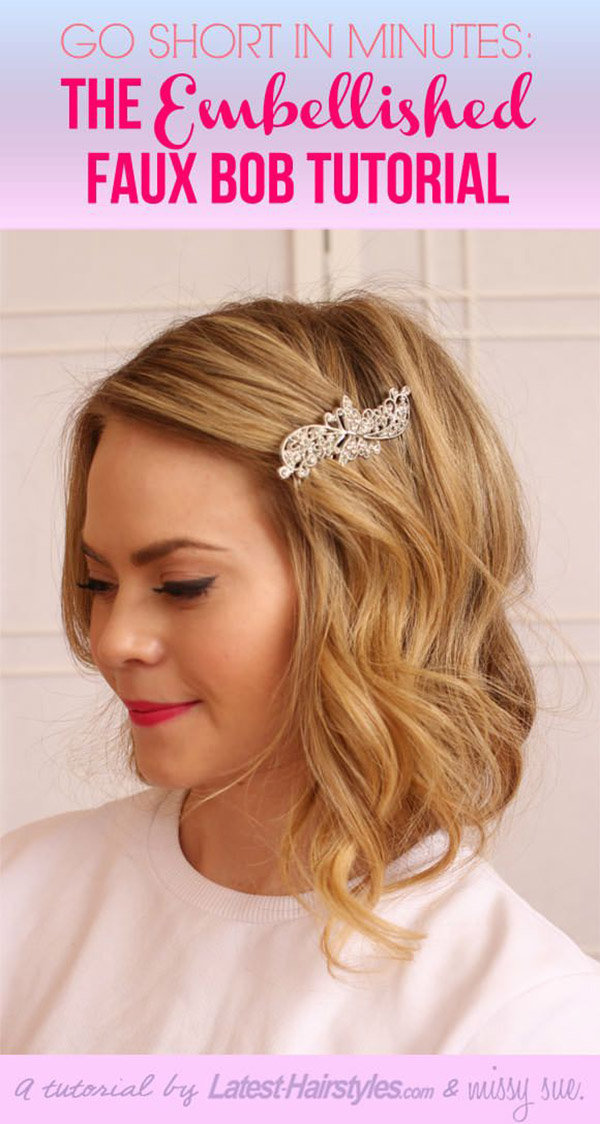
Craving a fun new change but you're not committed to a chop quite yet? Check out this adorable faux bob style — no scissors required.
Created by Missy Sue on Latest-Hairstyles.com
Get the Look:
1. Start by dividing the hair at the ears into two sections: top and bottom. Clip the top portion out of the way and leave the bottom half down.
2. Grab your favorite curling wand or iron and carefully curl 1-inch sections away from the face.
3. Let the top portion down and divide that section into two halves; securing the top with the clip again. Repeat step two, curling the hair away from the face.
4. Let down the top portion and repeat step 2 once more.
5. When all your hair is nicely curled, separate the hair again into two sections, top and bottom, clipping the top portion out of the way.
6. Gently twist the bottom hair that was left out into a small bun at the nape of the neck. Secure the bun with pins. This will be used to secure the top portion of the hair into the bob.
7. Now remove the clip from the top half and separate it into two halves, left and right.
8. Beginning on the right side, slowly twist the hair towards the back of the head and wrap it over the top and back around the bun in the back, then pin it into place.
9. Now, repeat step 8 with the left side.
10. The hair should feel pretty snug, so gently loosen it by pulling the hair at the top of the head. Be careful not to pull too much so it doesn’t come loose from the pins.
11. If any pieces do become too loose, simply twist them back under again and pin them at the nape of the neck. (The front pieces are usually the shortest, so leave a few of those out for a more casual look.)
12. Slide an embellished clip into the heavy side of the part.
13. Finish with a few spritzes of hairspray, and you are ready to go!
Bonus: Watch the step-by-step video ►


Comments
amelia22brown replied on Permalink
Blog