Here’s how to zip through the thank-yous, the photo editing and every last detail on your must-do list.
By: Sharon NaylorThank-You Notes
This is the task that many couples stall on, leaving those boxes of ultra-pretty thank-you cards on their dining room table for weeks. Be prompt: you’ll save time by acknowledging gifts received before the wedding within two weeks. Thank-you notes for gifts received on or after the wedding day should be sent within one month. As tempting as it may be to send e-mail thank-yous, it’s still most proper to send hand-written notes. (And to hand-write the envelopes.) The best way to remove the dread from this overwhelming task is to break it down into baby steps. You’ll both be more motivated to dive in if you make a list of easy-to-complete assignments — indicating how long each takes to get done—and reward yourselves after each work session.
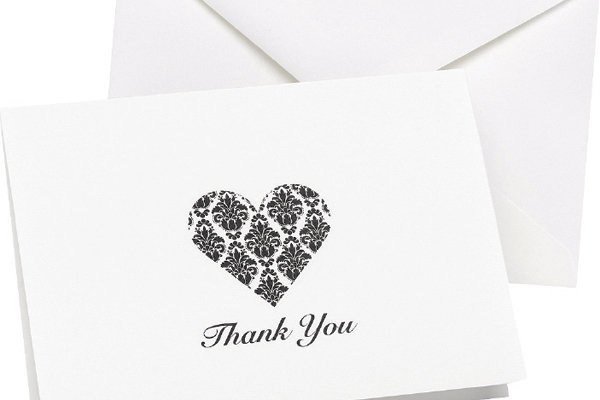
Photo Credit: Thank You Cards by Target
1. Do it now for later use. Create an organized, complete list of who gave what, and who did what, since you’ll send thank-you notes to those who helped with your planning or lent you valuable items. Don’t forget to list your wedding vendors as well. Get everyone’s current addresses and guests’ dates’ names, too.
2. Fine-tune your recipient list, researching outstanding addresses. Time: 1-2 hours.
3. Order your thank-you cards (if you haven’t already). Time: 3 to 4 hours to browse, design and order —and may take 1-3 weeks to arrive. (It’s best to order your thank-yous when placing your wedding invitation order.)
4. Decide who will write which notes, such as “I’ll do my side and the vendors, you do your side.” If one of you has better handwriting, that person writes, while the other reads off names, addresses and text to speed things along.
5. Assemble supplies. Time: 1-2 hours.
- Postage stamps
- Three to five new fine-tipped pens in a color coordinating with your thank-you card design
- Copies of your insert wedding photos, if not featured on your notes themselves
- Printed sample of wording you’ll use in your thank-you notes, for easy writing (For cash gifts: Dear ______, Thank you so much for the generous gift. We plan to put it toward our first home purchase. We loved seeing you and having you with us on our big day! Love, ________. For other gifts, mention the item and how it will be used: We look forward to sharing a toast with you with these lovely wine glasses.)
6. Set up your workspace. Time: 1/2 hour. Clear off the dining room table, and give it a good cleaning to remove any dirt, dust or oils. Spread out your boxes of cards, envelopes and inserts, and set out a basket into which you’ll place the finished notes.
7. Decide on the best time to get to work. Will you set aside time each weeknight evening after dinner to write your notes? Each Saturday morning? A designated time is a better plan than springing “Hey, let’s write some thank-yous!” on your husband the moment he gets home.
8. Determine your workload. Here’s a guide to help you figure out how much you can expect to accomplish at each session:
- 20 notes: 20 to 40 minutes
- 30 notes: 30 to 60 minutes
- 40 notes: 60 to 120 minutes (time has expanded to allow for breaks)
- 50 notes: 80 to 140 minutes
9. Reap some rewards. After each session, make cappuccino, go out for frozen yogurt, give each other foot rubs, etc.

Photo Credit: Checkerboard
Don't go to the post office just yet! Wait until you’re done with all of your thank-you notes before mailing any. This way, you can check your pile of completed envelopes against your master list to be sure you haven’t forgotten anyone. Sending as you go creates confusion. Hearing “Did we do Paul and Marika’s yet?” could stress you out.